Where to Buy Worms for Compost: Live Delivery Guide
Affiliate disclosure: Some links on this page are affiliate links. If you buy through them we earn a small commission at no extra cost to you. This never influences which products we recommend — we only suggest things we'd buy ourselves. Product prices and availability are accurate as of the date published and are subject to change. Always check Amazon for current pricing before purchasing. Learn more.
Quick Picks

Uncle Jim's Worm Farm 1000 Count Red Wiggler Composting Worms
1,000 worms is the ideal starter quantity for a Worm Factory 360
Check PriceIf you’ve decided to start vermicomposting and found yourself staring at a search bar typing “where to buy worms for compost,” you’re past the philosophical stage. You’ve already decided this is worth doing. What you need now is a straight answer about where to get worms that will actually arrive alive, establish quickly, and get to work.
The short answer is Uncle Jim’s Worm Farm, and I’ll explain why below. The longer answer involves understanding what you’re actually buying, how to set it up correctly, and what kills a new worm bin in the first thirty days. All of that is covered here. If you want broader context on the composting side of things, the Composting hub is the right starting point before you order anything.
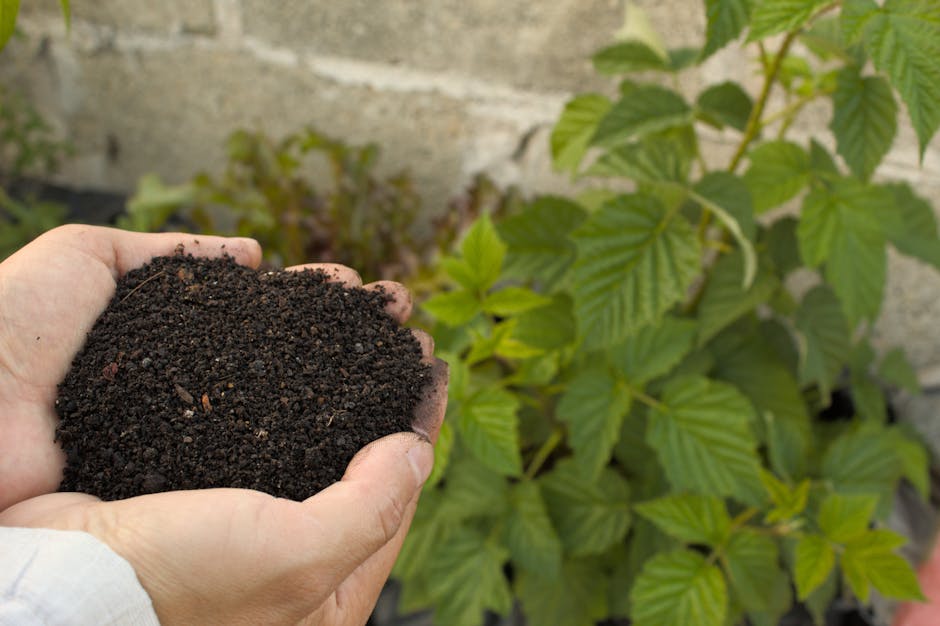
What Red Wiggler Composting Worms Are
Red wigglers (Eisenia fetida) are not the earthworms you turn up when you’re digging beds. Those worms, the nightcrawlers you find after rain, live deep in soil and do not thrive in a bin environment. Red wigglers are surface-level decomposers. They evolved to live in shallow layers of decomposing organic matter, which is exactly what a compost bin provides.
The practical difference matters. If you dig worms out of your garden and put them in a bin, most of them will die within a week. They need mineral soil at depth. Red wigglers need warmth, moisture, food scraps, and bedding. These are completely different animals for completely different purposes.
Red wigglers process organic material fast. A well-established population in a healthy bin can process up to four times their body weight in kitchen scraps per week. For a 1,000-worm starter population, that adds up quickly once they’re acclimated, which takes a few weeks from arrival.
Why the Source Matters
Live worm orders are not all equivalent. The survival rate from point of packing to your door depends on how the seller manages shipping density, moisture, and temperature buffering. I’ve heard from gardeners who received a bag of dead worms after a July delivery because the seller used inadequate packing material, or who got shorted on count because there was no quality standard in place.
The reason I recommend Uncle Jim’s Worm Farm 1000 Count Red Wiggler Composting Worms is the combination of quantity, live arrival guarantee, and the fact that 1,000 worms is the right starting number for a Worm Factory 360. Not 500, not 2,000. You want enough worms to establish a working population without overcrowding the bin before the food supply ramps up.
Uncle Jim’s ships with moisture-absorbing material in the packing, which matters more than most people realize. The worms need humidity but not standing water. They also offer a live arrival guarantee, but you have to report within 48 hours of delivery. Take a photo of the bag when it arrives. If something looks wrong, contact them immediately. Do not wait three days and then try to file a claim.
The main caveat is weather. Extreme heat above 90°F or cold below freezing during transit will affect survival rates. Uncle Jim’s won’t ship into weather windows that are likely to kill the order, but if you’re ordering in late July in a hot climate or in January when overnight temperatures drop hard, you may want to time your order for a cooler window. I ordered mine in mid-April and had no issues.
How to Set Up Your Worm Bin the Right Way
Choose the Right Bin First
Before the worms arrive, you need a working bin. A standard Rubbermaid tote will work if you drill drainage holes and stack two containers, but if you’re going to do this properly, the Worm Factory 360 is the bin to use with a 1,000-count order. It’s a stackable tray system that lets you harvest castings from the bottom while worms continue working in the upper trays. You don’t dig through the whole bin looking for castings. The system handles that for you.
If you’re not sure which bin type suits your setup, our worm composting kit article covers the equipment side in more detail.
Prepare Bedding Before the Worms Arrive
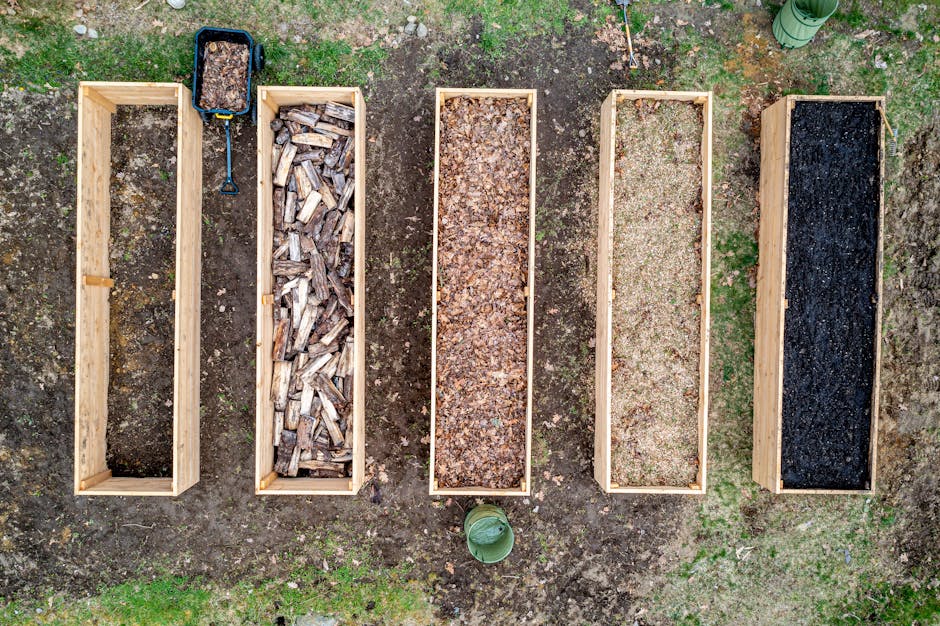
The day your worms arrive is not the day to start setting up. Have the bin ready. Bedding should be in place: moistened shredded cardboard or newspaper works well. The moisture level should feel like a wrung-out sponge. Not dripping, not dry. Fill the lower tray about halfway.
Do not add food yet. Give the worms 48 hours to settle into the bedding before introducing kitchen scraps. This is the most commonly skipped step, and skipping it stresses the worms at exactly the moment they’re most vulnerable from shipping.
Introduce the Worms Correctly
Open the bag over the bin and gently distribute the worms across the bedding surface. Don’t shake the bag or dump them in a concentrated pile. Leave the bin lid cracked or a light on above the bin for the first 24 hours. Worms avoid light, which encourages them to burrow into the bedding rather than trying to escape the sides.
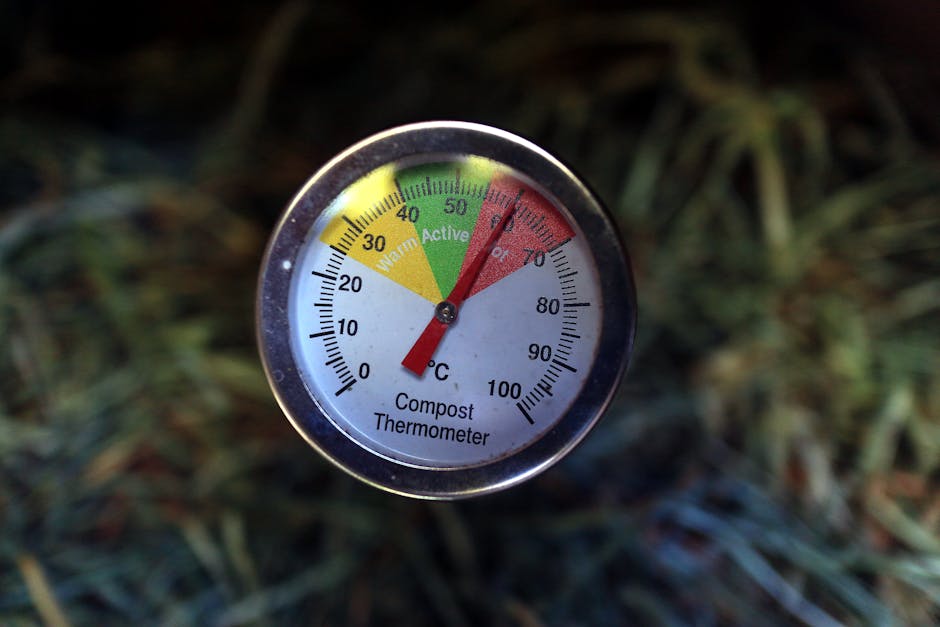
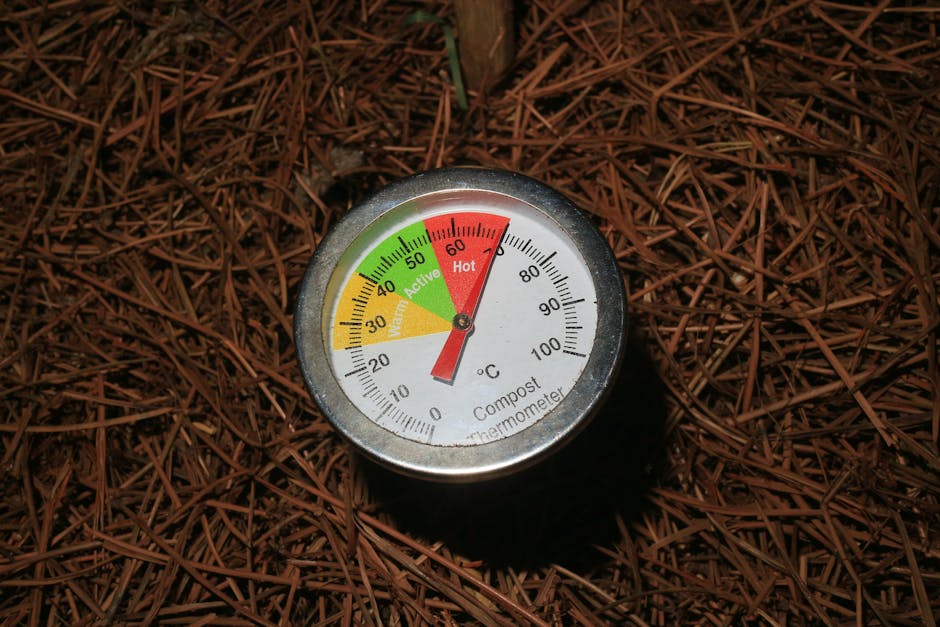
Temperature in the bin should stay between 55°F and 77°F. Above that range, the worms become sluggish or die. Below it, processing slows significantly. If you’re keeping the bin in an unheated garage through a hard winter, find a different location.
Feed in the First Month
Start with small amounts of food: coffee grounds, vegetable trimmings, fruit scraps. No citrus in large quantities. No onions. No meat, dairy, or oily food. Bury the scraps in the bedding rather than leaving them on the surface, which attracts fruit flies.
Feed every 3 to 5 days in the first month. Watch what the worms are processing. If food is piling up uneaten, you’re feeding too fast. If the bin looks sparse, you can increase frequency. The worms will tell you what they can handle.
Common Mistakes That Kill a New Worm Bin
Overfeeding Early On
A new population of 1,000 worms is not yet at full capacity. It takes 4 to 6 weeks for them to fully acclimate and reproduce enough to handle heavier feeding. Dumping in large volumes of scraps in the first two weeks creates anaerobic rot before the worms can process it. The bin starts smelling and the worms try to leave. Add less than you think you need to in the first month.
Wrong Moisture Level
Too dry and the worms’ skin dries out and they die. Too wet and the bin becomes anaerobic. If liquid is pooling in the bottom tray, add dry bedding. If the bin feels dry and the worms are balled up in the center, mist the bedding lightly. This is not a set-it-and-forget-it system in the early weeks. Check the moisture weekly.
Using Garden Worms Instead of Ordering Red Wigglers
I mentioned this above, but it’s worth repeating because it’s the most expensive mistake new vermicomposters make. You dig up a jar of nightcrawlers, put them in a bin, they die within a week, and you conclude that worm composting doesn’t work. It works fine. You just need the right species.
Ignoring the 48-Hour Arrival Window
If your worms arrive and a significant portion are dead, you need to contact Uncle Jim’s within 48 hours to activate the guarantee. This is not a long window. Open the package when it arrives, not two days later.
Wrong Location
A bin kept in a space that gets too hot in summer or too cold in winter will fail. I keep mine in the basement, where temperatures stay in the mid-60s year-round. If you don’t have that option, plan for seasonal adjustments. Some people move bins to garages in summer and back indoors in winter.
Understanding the difference between what worm bins produce versus what a standard outdoor pile produces is also useful as you get into this. The worm castings vs compost breakdown covers that distinction clearly if you want to know how to use each output.
If you’re also running an outdoor pile alongside a worm bin, which I do, you may find the black compost bin article useful for thinking through how those two systems work together. They’re complementary rather than redundant.
For more on the broader mechanics of composting and how vermicomposting fits into a full garden system, the Composting section of this site is where to go next.
Frequently Asked Questions
How many worms do I need to start a compost bin?
1,000 worms is the standard starter quantity and the right amount for a Worm Factory 360 or a comparable two-tray system. It gives you a working population without overcrowding the bin before food input ramps up. Fewer than 500 and the bin is slow to establish. More than 2,000 in a small bin and you risk crowding before the population self-regulates.

Can I buy composting worms at a bait shop?
You can, but most bait shops sell nightcrawlers, which are not the same species as red wigglers. Nightcrawlers are soil-dwelling worms that do not thrive in a bin environment. They need mineral soil at depth and will die in a shallow composting setup. Always verify you’re buying Eisenia fetida, sold as red wigglers or redworms.
What time of year is best to order composting worms?
Spring and fall are the safest shipping windows. Mid-April through early June, or September through early October. Avoid ordering during heat waves above 90°F or when overnight lows are below freezing. Uncle Jim’s manages their shipping windows to some extent, but timing your order to moderate weather improves arrival survival rates.
How long does it take for worms to start producing usable castings?
Allow 3 to 4 months from setup before harvesting castings. The first month is acclimation. Months two and three, the population grows and processing accelerates. By month three or four, you’ll have harvestable material in the lower tray if you’re running a stacked system like the Worm Factory 360. The timeline varies with feeding volume, temperature, and bin management.
Do composting worms need special care in winter?
They need to stay above 50°F. Below that threshold, activity slows significantly. Below 40°F, the population is at risk. If you’re keeping the bin in an unheated space through cold winters, move it indoors. A basement corner, a heated garage, or a utility room all work. The bin produces minimal odor when managed correctly, so indoor placement is not a problem.