Where to Buy Compost Worms: A Trusted Seller Guide
Affiliate disclosure: Some links on this page are affiliate links. If you buy through them we earn a small commission at no extra cost to you. This never influences which products we recommend — we only suggest things we'd buy ourselves. Product prices and availability are accurate as of the date published and are subject to change. Always check Amazon for current pricing before purchasing. Learn more.
Quick Picks

Uncle Jim's Worm Farm 1000 Count Red Wiggler Composting Worms
1,000 worms is the ideal starter quantity for a Worm Factory 360
Check PriceIf you’ve spent any time reading about vermicomposting, you’ve probably hit the same wall: everyone explains how worm bins work, but nobody gives you a straight answer on where to actually buy the worms, or whether the seller you’re looking at is worth trusting. This article is the straight answer. I’ll cover what red wigglers are, why your source matters more than you’d think, and which product I’d recommend without hesitation to someone starting their first bin. If you want to read more broadly about composting methods before committing to a bin setup, the Composting hub is a good place to orient yourself.
What Compost Worms Actually Are
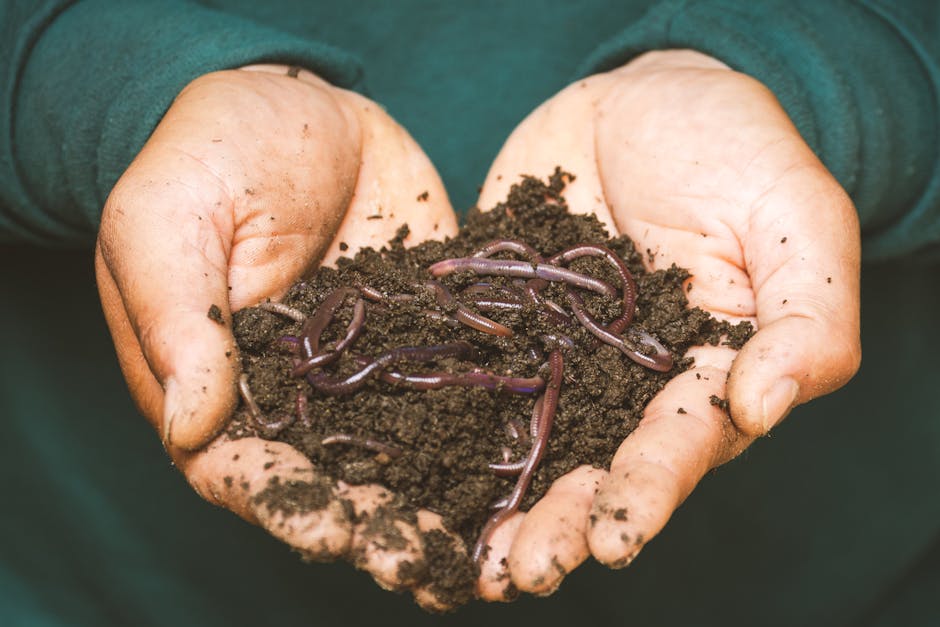
Red wigglers (Eisenia fetida) are not the earthworms you find when you turn over a shovelful of garden soil. That distinction matters. Earthworms are subsoil creatures. They tunnel deep, they don’t tolerate crowding, and they’ll die in a contained bin. Red wigglers are surface dwellers. They live in dense, organic-rich environments, tolerate high concentrations of decomposing material, and they thrive in exactly the kind of conditions a worm bin creates.
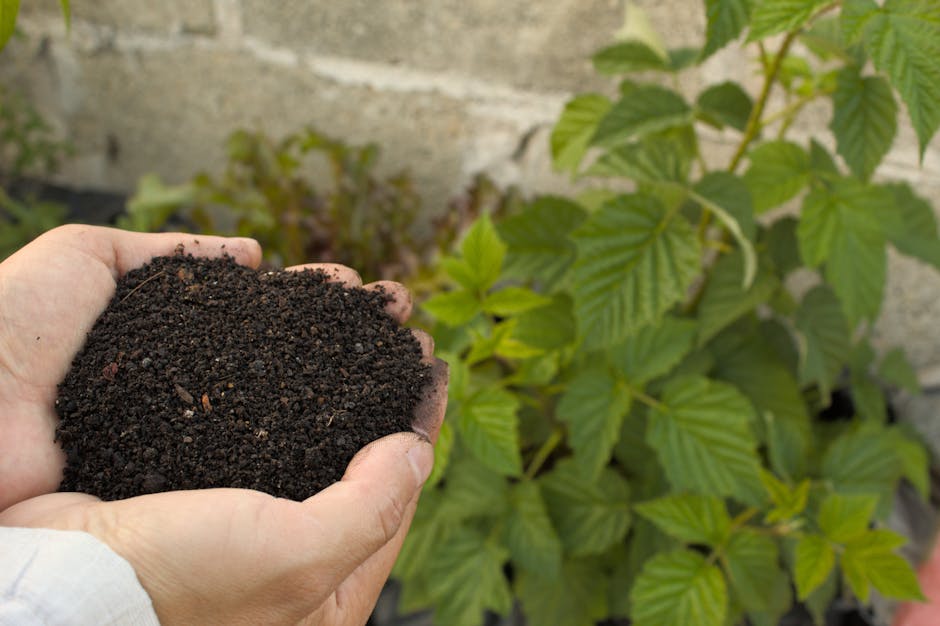
A healthy, established colony can process organic waste at roughly four times the worms’ collective body weight per week. For a 1,000-worm bin, that’s not going to eliminate your entire kitchen output on day one, but it will handle a steady stream of vegetable scraps, coffee grounds, eggshells, and paper material as the colony grows. The output is vermicompost, which is more nutrient-dense than conventional compost and particularly useful for starting seeds or amending potting mixes.
Why Where You Buy Them Matters
Live worms shipped in a box is a situation with more variables than most online purchases. Temperature during transit is the big one. A shipment sitting on a hot loading dock for an afternoon, or delayed by a winter storm, can arrive with significant losses. The quality of the packing material matters. The count matters. And the seller’s willingness to stand behind a live shipment matters.
I’ve seen people try to source red wigglers locally, which can work if you happen to have a bait shop or small-scale worm farm nearby that sells Eisenia fetida specifically. Most bait shops carry nightcrawlers, which are a different species and a bad fit for a bin. The local option is worth pursuing if it’s available, but for most people it isn’t, and that means mail-order.
Before I get into the specific product, it’s worth being clear about quantity. Starting a bin with fewer than 500 worms is a frustrating experience. The colony takes too long to establish, early overfeeding is harder to avoid, and you’ll wait months before seeing any meaningful processing. One thousand worms is the minimum I’d recommend for a standard tray-based bin. If you’re looking at something in the range of a worm composting kit that includes both the bin and the worms, the same quantity principle applies.
My Recommendation: Uncle Jim’s Worm Farm
The product I’d point you toward is the Uncle Jim’s Worm Farm 1000 Count Red Wiggler Composting Worms. Uncle Jim’s has been selling live worms by mail long enough to have worked out the logistics. The worms ship packed in moisture-absorbing material, which handles the condensation and oxygen problems that kill worms in poorly packed shipments.
The 1,000-count listing runs around $40 to $45 at the time of writing, depending on the season. That’s a reasonable price for a guaranteed live count, and the guarantee itself is worth noting. If you report losses within two days of arrival, Uncle Jim’s will address it. That two-day window is tight, so open the package the day it arrives and assess the worms. Don’t leave it until the weekend.
The count pairs well with a Worm Factory 360, which is the bin I’d use with this particular listing. The 360’s tray system is designed for exactly this population size, and the worms will work through the first tray before you add the second, which is the right pace for a beginner to track what’s working. If you’re still deciding on a bin and want to compare some conventional options first, the black compost bin review covers a different composting approach that may be a better fit for people who want an outdoor, low-maintenance setup instead.
What You’re Actually Getting
The worms arrive in bedding, not bare. This matters because exposed worms stressed from transit need time to recover, and bare shipping makes that harder. The bedding holds moisture, regulates temperature slightly, and gives the worms somewhere to retreat during the journey. When you receive the package, you’ll see a clump of material that looks like damp shredded paper mixed with dark compost. The worms are in there.
One honest note on acclimation: these worms will not hit their processing stride for several weeks after arrival. Plan for a slow start. Underfeed slightly at first, monitor moisture levels, and resist the urge to add large volumes of food until you see the worms actively working the surface. The first month is an acclimation period, not a full operation.
How to Get Started
Getting worms into a bin correctly takes about 30 minutes and is not complicated, but there are a few steps that make a real difference.
Prepare the bedding first. Before the worms arrive, set up your bin with bedding. Shredded cardboard and coco coir work well. Dampen it until it feels like a wrung-out sponge, not dripping. If the bedding is too dry, the worms will burrow to the bottom where there’s more moisture and ignore your food scraps.

Introduce the worms with minimal disturbance. Tip the contents of the shipping bag into the prepared bedding. Don’t try to separate the worms from the packing material. The packing material is fine to add to the bin and the worms will sort themselves out. Leave the bin lid off for 20 to 30 minutes. Light causes the worms to burrow down into the bedding, which is what you want.
First feeding. Wait 24 to 48 hours before adding food. A small amount of vegetable scraps or coffee grounds, buried under the bedding surface, is enough for the first week. The worms are adjusting to their new environment and a heavy food load at this stage will cause pH and moisture problems before the colony is ready to process it.
Ongoing management. Keep moisture levels consistent. A bin that dries out kills worms slowly. A bin that’s waterlogged creates anaerobic conditions and will smell. The bin should have visible moisture but no pooling. I check mine weekly (I time this with a broader walk through the vegetable garden, which keeps it from feeling like a separate chore).
Common Mistakes
Buying the wrong worm species. If the listing says “nightcrawlers” or doesn’t specify Eisenia fetida, it’s the wrong product for a bin. Nightcrawlers are sold in high volume and are cheap, but they are soil worms and will not thrive in a tray bin.
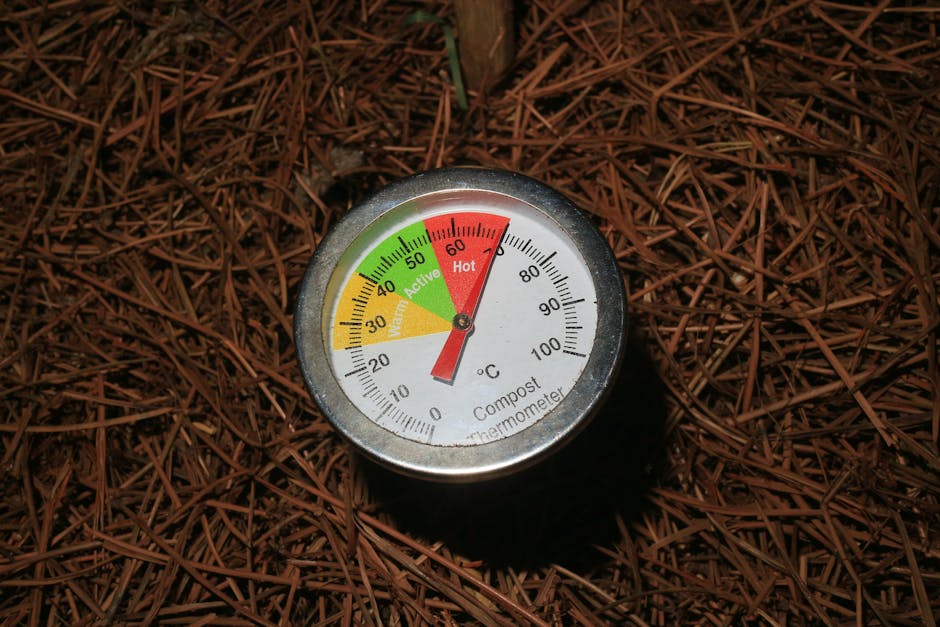
Underestimating temperature. Worm bins should be kept between roughly 55°F and 77°F. A bin in an unheated garage over a hard winter will stall out or die. A bin on a south-facing patio in August in full sun will cook. I keep mine in the basement from November through April.
Overfeeding early. A new colony with 1,000 worms cannot process what a healthy, established 3,000-worm colony can. Rotting food that the worms can’t keep up with attracts pests and creates acidity. Add small amounts and let the worms catch up before adding more.
Ordering in extreme temperatures. Uncle Jim’s ships live worms, and live worms are vulnerable to heat and cold during transit. If your region is running above 90°F or below 30°F, consider waiting a few weeks before ordering. The two-day arrival guarantee helps, but the better outcome is a shipment that arrives in good condition in the first place.
For people who want to incorporate vermicompost output into a broader yard composting system, pairing a worm bin with a larger outdoor bin makes sense. A huge compost bin handles the garden waste and coarser material that worms can’t efficiently process, and the two systems complement each other without one trying to do the other’s job.
If you’re still building out your understanding of different composting approaches before committing to any system, the full composting resource section covers everything from passive pile methods to hot composting to the vermicomposting approach described here.
Frequently Asked Questions
How many worms do I need to start a bin?
One thousand worms is the right starting quantity for a standard tray-based bin like the Worm Factory 360. You can start with 500, but the colony will take longer to establish and you’ll have a narrower margin for error with moisture and feeding. Two pounds of worms (roughly 2,000 count) is a reasonable ceiling for a single-bin setup starting out.
Can I use regular earthworms from my garden instead?
No. Garden earthworms are deep-burrowing soil worms. They need mineral soil and significant space, and they don’t process surface organic matter the way red wigglers do. Putting garden earthworms in a tray bin is a slow way to lose them. Red wigglers (Eisenia fetida) are the species designed for this use.
What should I do if my worms arrive and some are dead?
Open the package the day it arrives. Some worm loss in transit is normal, but if the mortality is significant, document it and contact Uncle Jim’s within two days of delivery. That’s the window for their live arrival guarantee. Photograph the package and contents before doing anything else.
How long before my worm bin produces usable compost?
With a 1,000-count starter colony, expect three to four months before you have a meaningful quantity of finished vermicompost. The first month is largely acclimation. By month two, if feeding and moisture are managed well, the colony will be visibly active and processing steadily. By month four, the bottom tray should have material that looks and smells like rich, dark soil.
Can I buy compost worms locally instead of ordering online?
Sometimes. Call bait shops in your area and ask specifically for red wigglers or Eisenia fetida. Many carry nightcrawlers, which are the wrong species. Local garden centers occasionally carry worms in spring, but it’s inconsistent. If you can find a local source selling the right species, it avoids the shipping variable entirely. If not, a reputable mail-order seller like Uncle Jim’s is the practical option.